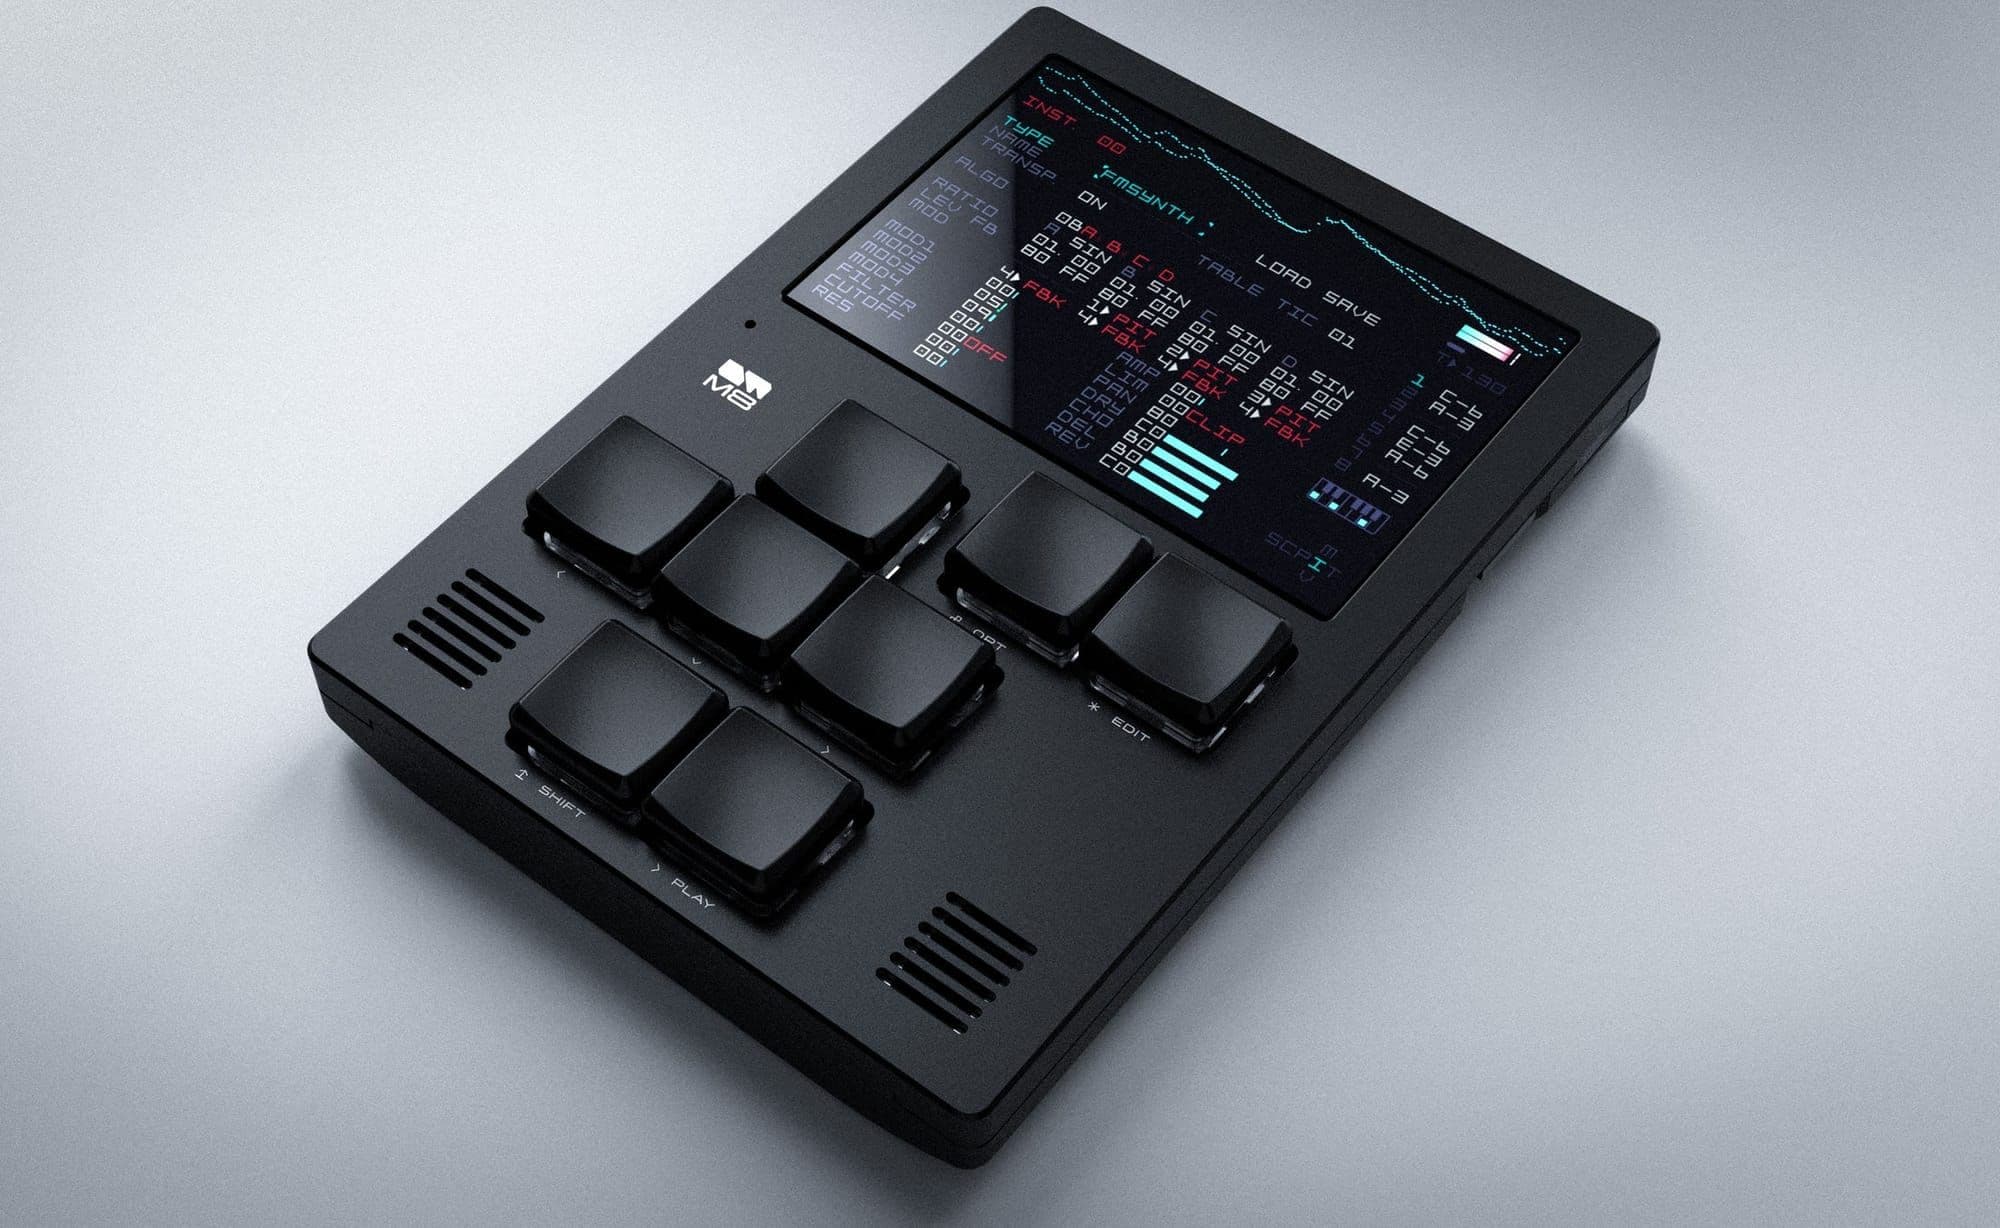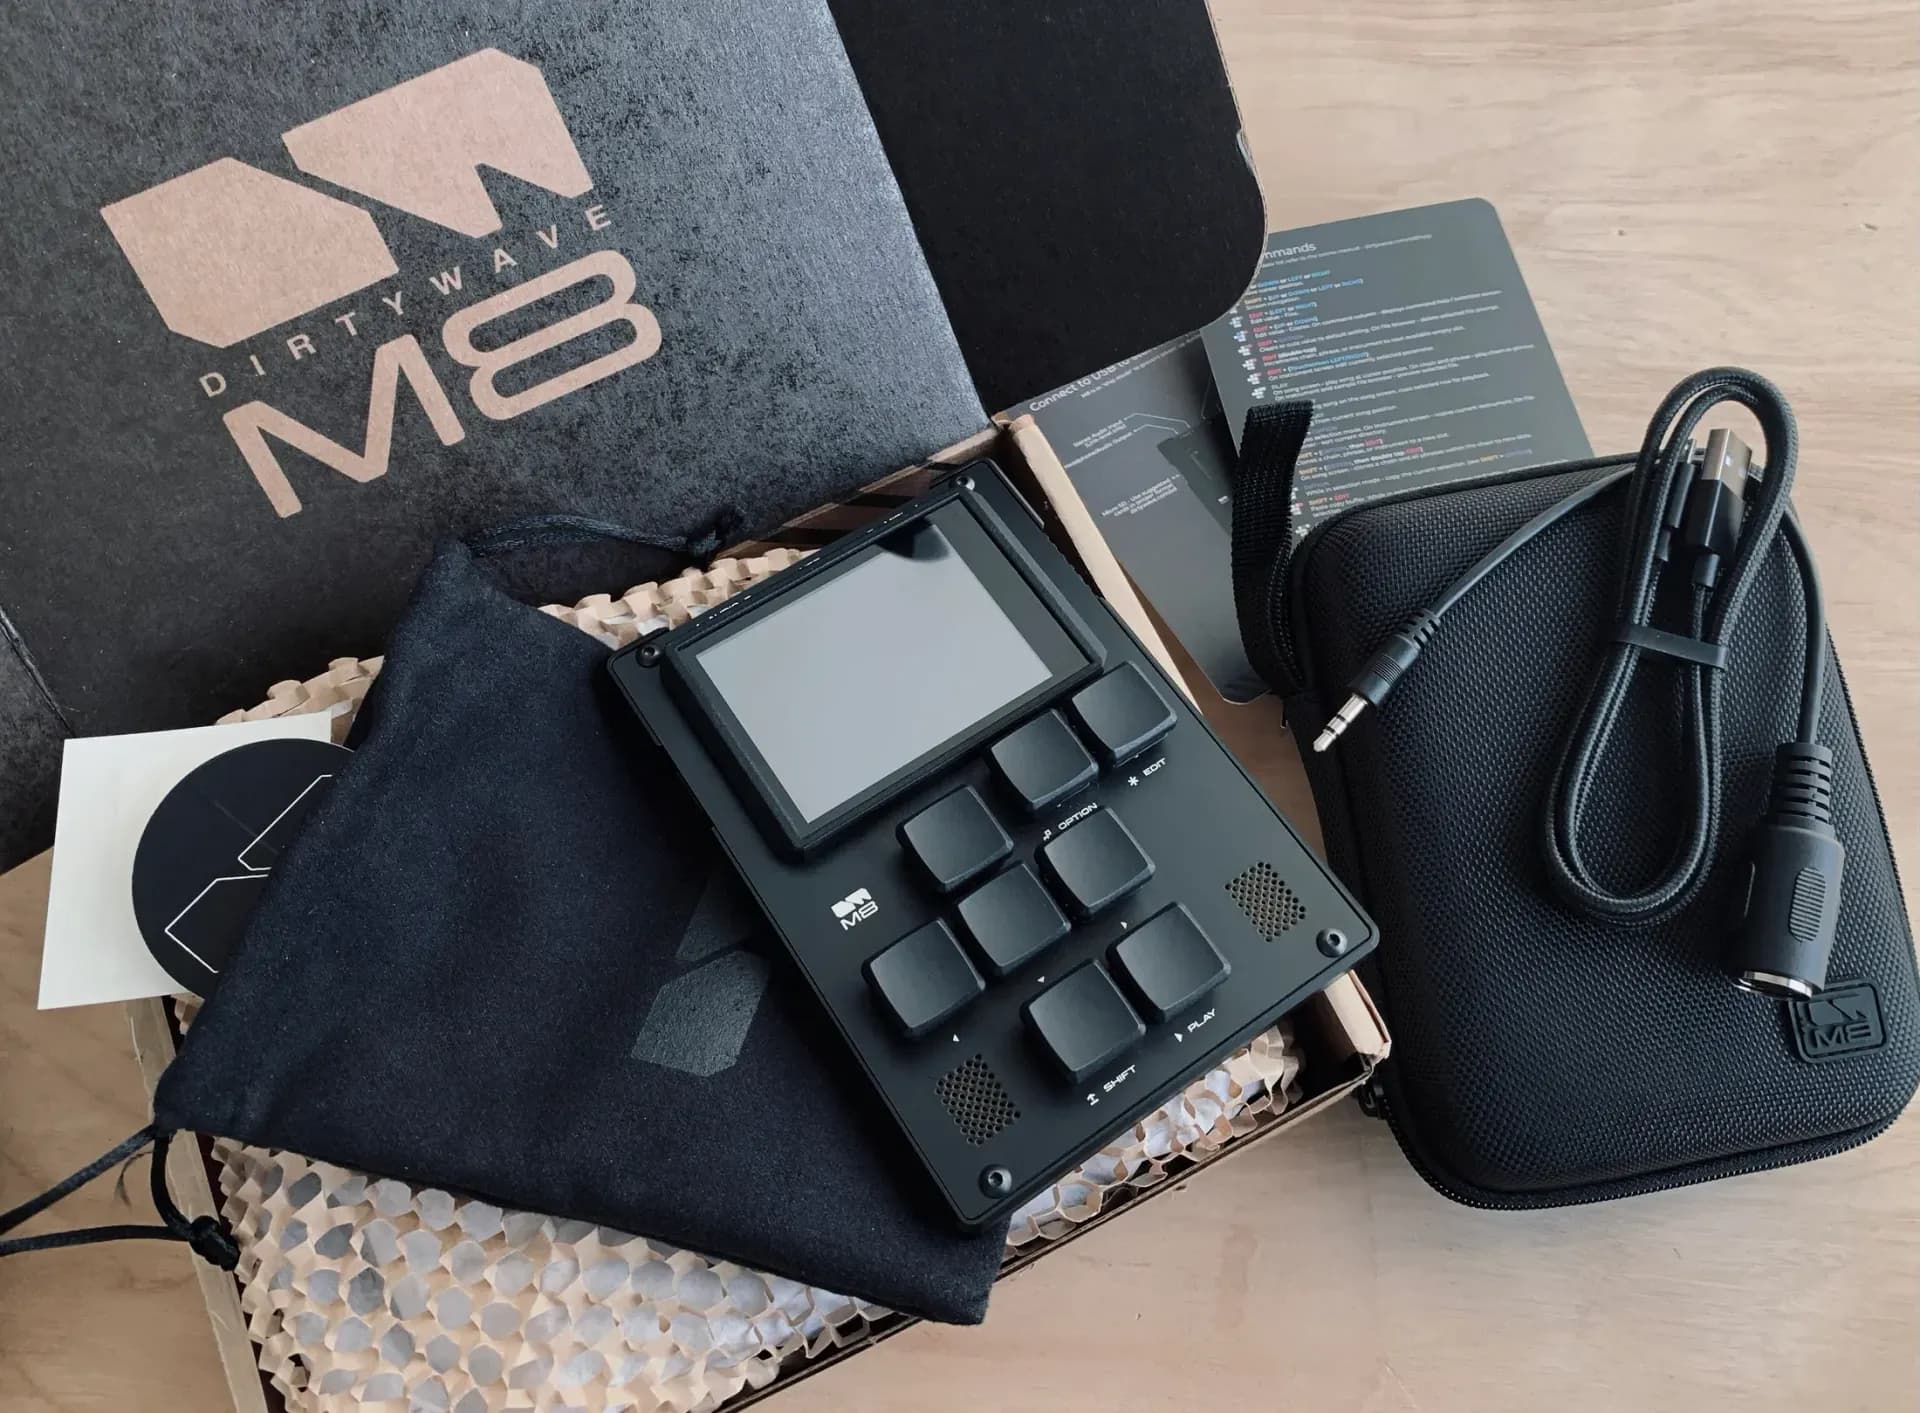
The Dirtywave M8 Tracker’s 6.0.0 Beta firmware introduces numerous updates and changes aimed at enhancing sound design, sequencing flexibility, and overall workflow. Below is a detailed summary of the major new features and modifications, based on the developer’s recent meetup discussion. This overview assumes familiarity with the M8’s tracker interface, instrument system, and terminology.

Instrument playback and synthesis changes
Elimination of retrigger click artifact: A long-standing quirk with rapid note retriggering has been addressed. Previously, re-triggering an instrument without a volume envelope could produce a faint “click” or “bonk” sound due to oscillator phase discontinuities. In v6.0.0 Beta, this artifact is gone, successive notes without envelopes now merge seamlessly as a continuous tone. The behavior now aligns with expectations of a normal synthesizer voice (no unintended transient between notes).
Optional oscillator phase sync: To compensate for the removed retrigger transient (for users who creatively relied on that sound), a new Sync (SNC) effect is available in most synth engines. When enabled, this forces the oscillator phase to reset on each note trigger, effectively reintroducing a controllable hard sync effect. Every new note starts the waveform at the same phase position, yielding a consistent attack (and a sharp sound if no fade-in envelope is present). This allows users to intentionally create a punch/click at note on, or simply ensure phase-aligned attacks for basses and other sounds when needed.
Wave synth hard-sync feature: The Wave Synth engine now includes a true oscillator sync capability. Hard sync forces one oscillator’s waveform to reset in sync with another’s frequency, creating additional harmonics. This was previously available in the FM Synth and Hypersynth engines; with v6.0.0 Beta, Wave Synth gains a similar sync parameter. Users can dial in aggressive synced tones on Wave Synth, while Macro Synth remains without sync (Hypersynth already had it). This brings more sonic parity across the internal synth engines.
“Error” (ER) command for analog-style instability: A new effect command, ER, is introduced for all synth engines. This command purposefully “breaks” or randomizes subtle aspects of the sound to add analog-like instability and variety. When an ER command is placed in a phrase (with a value from 00 to FF), it will randomly detune oscillators relative to each other and slightly modulate filter cutoff (and resonance) when triggered. Low ER values introduce gentle drift, while FF produces maximal chaos. In practice, ER can simulate analog oscillator drift, slop, or other circuit inconsistencies, giving synthesized tones more character and unpredictability. Because it re-randomizes on each trigger, the effect is non-deterministic (unaffected by the SEED command) and adds a unique flavor every time. Producers can use ER sparingly for subtle warmth or automate it rapidly for wild glitchy variations. Notably, the Hypersynth engine also implements ER; in testing it even caused humorous “keyboard smash” timbres when applied heavily.
New output distortion mode (W3): A new clipping algorithm labeled W3 has been added to the M8’s output distortion options. This is an asymmetrical clipping mode that produces a more brutal, gritty sound than the existing “AD” soft clip mode. The waveform is slightly skewed on the positive vs. negative swing, yielding a harsher crunch and different harmonic profile. This was added experimentally by the developer for those who want a heavier distortion flavor. Like other output clip modes, W3 can be toggled in the Master/Scope view. It is not enabled by default, since its coloration is strong (and even affects low-level audio slightly). When engaged, it can make drums and synths sound fuller or more aggressive when pushing the mix “into the red.” Users should enable W3 intentionally for a lo-fi distorted character.
Master soft clipping option: In addition to W3, the firmware introduces an optional soft clip on the master output. This gentle limiter can be enabled to smooth out peaks when the mix approaches 0dB, preventing harsh digital clipping. With soft clipping on, the M8 will subtly compress and round off any overdrive, making the output sound “nicer” and more analog when levels get hot. This helps tame sudden volume spikes or intentional overdrives. Because soft clipping can also slightly color the sound even at lower volumes, it remains off by default (for transparent output). Producers can turn it on as needed in the Scope view when they want forgiving, saturated headroom in a performance or recording.
New sequencing commands and table features
NXT (Next Track) instrument trigger: A new phrase command NXT allows an instrument to trigger a second instrument on an adjacent track. When placed in a phrase or instrument table, NXT xx will play instrument xx on the next track to the right. This essentially spawns a linked note on the neighboring track without manually programming it. NXT does not work on Track 8 (since there is no track 9), but can chain across multiple tracks if used sequentially. For example, Track 1 could use NXT 02 to fire instrument 02 on Track 2; that instrument’s table could contain NXT 03 to fire yet another on Track 3, and so on. This opens up advanced layering techniques – you can easily create thick chords or parallel layers by triggering additional instruments, or achieve stereo split effects by having the same phrase play on two voices panned differently. Care must be taken not to create an infinite loop (e.g. an instrument triggering itself again via NXT), which the M8 will block (it would otherwise recursively consume all tracks). The interface makes it easy to follow NXT chains: you can hold Shift and press - on a NXT command to jump to the referenced instrument’s editor. Overall, NXT provides a powerful way to sequence multi-track riffs and layered sounds from a single track’s data.
Expanded table tick modes: The instrument Table (automation sequencer) gains new modes to modulate parameters based on note properties. In addition to existing tick speeds and the prior Note Map mode, v6.0.0 Beta adds Velocity Map and Octave Map modes. These allow the 16-step table to branch or select rows depending on the note played:
Velocity Map: Table position is chosen according to the note’s input velocity. This can be used to set up velocity-layered modulation or sample switching. For example, a drum instrument’s table could trigger a different sample (row) when velocity is high vs. low, effectively achieving multi-sample layering within one instrument.
Octave Map: Table position corresponds to the octave of the played note. This lets you program octave-dependent behavior. A single instrument can thus respond to register: e.g. notes in a lower octave use a different filter setting or waveform (via a specific table row) than notes in a higher octave. The M8 uses this feature in the new metronome instrument (described later) to give the downbeat a different pitch than the other ticks.
(The previously introduced Note Map mode remains available, mapping table steps by the specific note value.)
Additionally, a 200 Hz ultra-fast table tick rate is now present, useful for very high-speed modulations or one-shot envelopes. These enhancements increase the flexibility of tables for expressive sound design. You are still limited to 16 table rows, but those rows can now be targeted dynamically by note attributes, enabling creative tricks like velocity-sensitive effects or octave-specific timbral changes without needing separate instruments.
Sampler and sample editor improvements
Tempo-synced repitch playback: The sampler instrument receives new loop playback modes called “Repitch.” In these modes, a sample’s speed is locked to the song tempo by adjusting its pitch (rather than time-stretching). This is analogous to the “Repitch” or “Tape” mode in DAWs like Ableton or Renoise. When Repitch mode is enabled on a sample, you specify the loop length either as a number of measures or by the original BPM:
Repitch (Forward): The sample plays in a loop, and the firmware automatically tunes the playback rate so that the loop fits a given number of steps (measures) at the current tempo. For example, if you set a breakbeat loop to 4 measures, it will always stretch or squeeze to exactly 4 bars, no matter the song BPM, by transposing the sample pitch accordingly. Changing the song tempo will retune the sample in real-time to remain in sync.
Repitch Reverse / PingPong: Variants that behave the same as above but play the sample backwards, or back-and-forth (ping-pong looping), while still locking length to tempo.
Repitch (BPM mode): Instead of specifying measure length, you input the sample’s original BPM. For instance, if a loop was recorded at 128 BPM, set “Repitch BPM” to 128. The M8 will then calculate the necessary pitch shift to match the current project tempo. This mode is useful if the loop length in measures would exceed the available range, or if you know the source BPM offhand.
These modes make it very fast to drop in loops and have them play in time without manual tuning. Sliced samples are supported as well – if you slice a repitched loop, each slice inherits the tempo locking. It’s important to note this is not time-stretching; audio is sped up or slowed down with pitch change. There is no granular time-stretch algorithm in real-time (which would be too CPU-intensive on the hardware). But repitching covers many use cases for backing loops or breakbeats in tempo. Together with slice mode, it enables creative beat manipulation while staying synced.
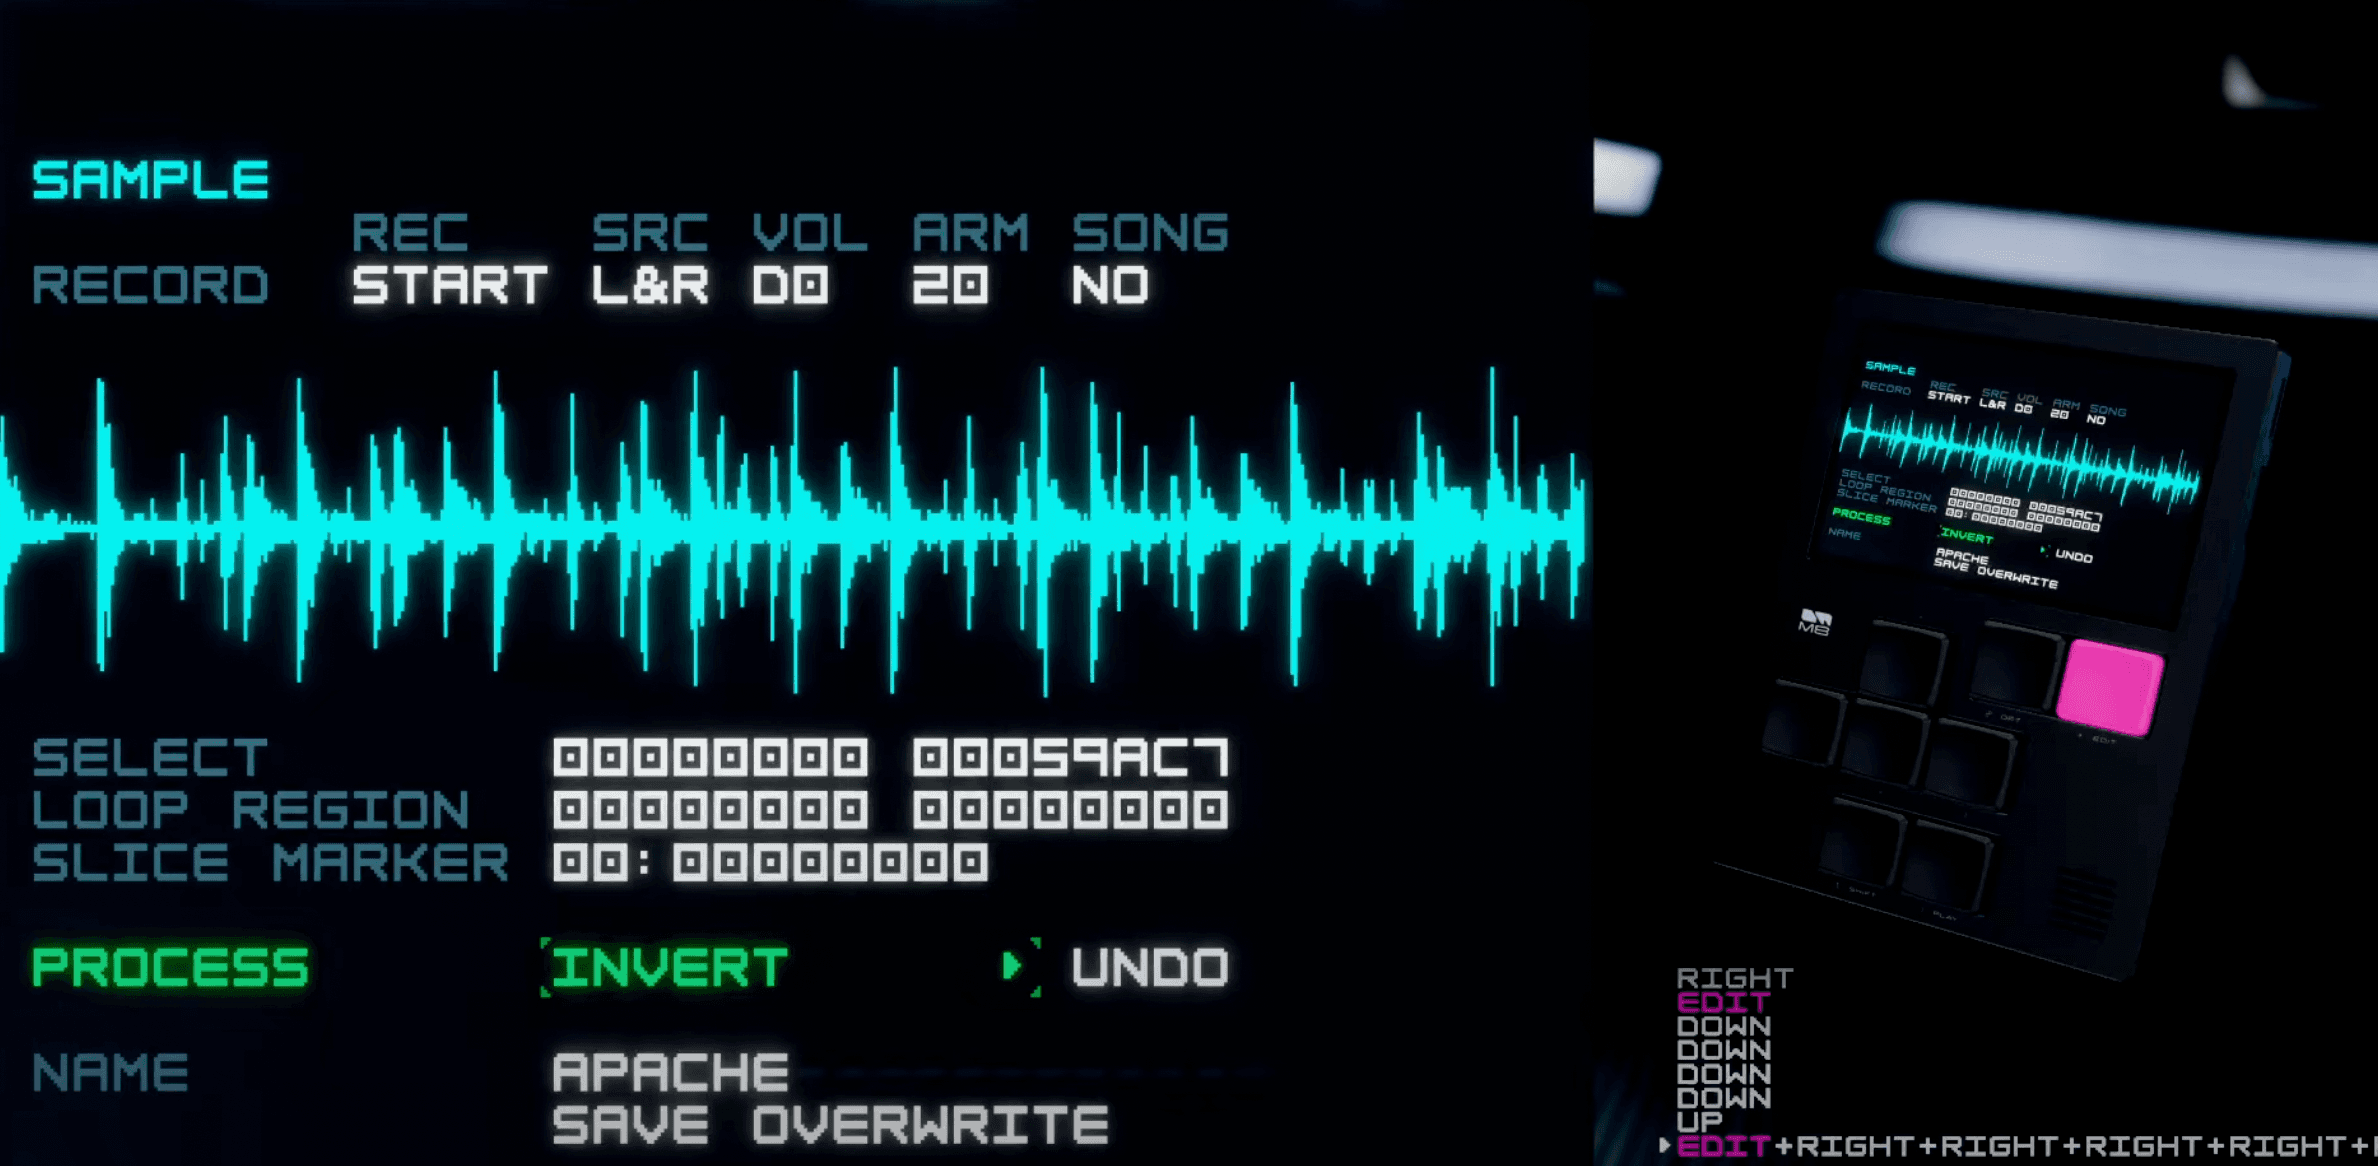
Sample editor reverse & invert: Two new waveform editing functions have been added to the Sample Editor’s Process menu: Reverse and Invert. As their names suggest, Reverse flips the sample in time (playing it backwards), and Invert flips the sample vertically (180° phase inversion). These destructive edits make it convenient to create reversed sounds or correct phase issues without exporting audio to an external editor. For example, you can record a cymbal crash, then reverse it with one command to get a swooping rise sound. Or invert a sample’s phase if combining it with another to check for cancellation. These options operate on the sample data in memory and complement the existing tools (like normalize, trim, etc.) in the editor.
Effects and mixing enhancements
All-pass filter in EQ: The multi-mode EQ effect (on instruments or the master, as applicable) now includes an All-Pass filter mode, selectable as the last filter type. All-pass filters pass all frequencies through but alter the phase relationship of the signal. While not a “visible” effect on frequency response, all-pass filters can be used for advanced techniques like phase cancellation tricks, stereo widening, or building phaser effects. In the M8, the all-pass filter can introduce subtle stereo depth when modulated or combined with the right routing. It’s an advanced tool – the developer admitted it’s “super boring unless you know what an all-pass is for”, but it was included since it didn’t cost much to add and can enable creative sound design for those who will use it. Users can experiment with automating the all-pass filter frequency to create phase-based motion in sounds or to align phases between layers.
Configurable USB audio routing: The M8’s USB audio interface capabilities have been significantly expanded with a new “USB Audio Routing” menu. You can now select how the M8 routes audio to and from its single stereo USB audio stream, enabling use-cases like multitrack stem recording, external effect processing, and feedback-free monitoring. Key routing options include:
Mix (default): The original behavior, the main stereo mix is sent to the computer, and the USB input from the computer is summed into the M8’s output. This can cause feedback if you try to process the M8’s output on the computer and send it back (since the return would go into the mix again). Thus, new modes were added to avoid such loops.
Pre-Track 1–8: These modes send the isolated audio from a specific track to the USB output, tapping the signal before the track’s volume slider (pre-fader). For example, “Pre Track 1” will route only track 1’s output (at full level, unaffected by the M8 mixer volume) to the USB stream. This allows recording or processing one track at a time in solo. By selecting each track in turn, you could record stems for all tracks by successive passes. (The M8 still has only one stereo USB out at a time, so it can’t send all tracks simultaneously on separate channels, but you can solo them one by one.) You can also leave the track’s own volume up to monitor it on the M8 while capturing it via USB, or mute it in the M8 mix to have it removed from the analog outputs while still feeding the computer.
Pre-Chorus / Pre-Delay / Pre-Reverb: These tap signals from the send effect buses. Selecting “Pre Reverb” for instance outputs the summed reverb send bus (before it hits the internal reverb effect) to USB. This is useful if you want to use external effects: e.g. send the reverb bus to a DAW or iPad to apply your own reverb plugin, with the dry tracks still coming out the M8 analog outs. You would typically turn down the M8’s internal reverb return in the mixer so it doesn’t double up. Each send bus can be routed out and processed externally in this way. (Note: the Delay send is inherently mono, so “Pre Delay” sends a mono signal, whereas Chorus and Reverb are stereo buses).
Line In (Stereo/Left/Right): Sends the M8’s external line input straight to USB. This effectively turns the M8 into a basic USB audio interface for an external source. You could use it to record external gear through the M8 into a DAW, or monitor a live input on your computer. The Left/Right options allow isolating one side of the input if needed.
Mix & Monitor: This mode is designed to eliminate feedback when using the M8 as a USB audio interface with a DAW. In Mix+Monitor, the USB input from the computer is not routed into the M8’s own mix (thus avoiding feedback), but it is passed to the analog outputs for monitoring. Meanwhile, the M8’s internal mix still goes out to both analog and USB. In practice, this means you can use the M8 to play back DAW audio (coming into the M8 via USB) on its line output while simultaneously sending the M8’s output to the DAW, without the DAW audio looping back into itself. It separates the monitoring path from the USB send.
Post Mix (Insert): In this mode, the M8’s main output is diverted exclusively to USB instead of the analog outs, and the return from USB is sent to the analog outputs. This creates an insert send/return loop: the M8’s own sound is silent on its hardware output until the PC sends audio back. It’s meant for inserting an external effect chain on the entire mix. For example, you might route the mix to a PC running a compressor or mastering plugin and then back to M8 (which would output it to headphones). The developer demonstrated this by running the mix through an OTT plugin on the computer in real time. Post-mix insert ensures no dry signal leaks – the analog output only carries the processed return, making it a true insert point.
All these options provide a flexible matrix of routing without adding additional physical I/O. They essentially repurpose the stereo USB channel in different ways. Under the hood, the M8 still streams only 2 channels to/from USB – there is no multichannel USB audio yet (due to CPU/RAM constraints and stability concerns). However, by intelligently selecting a mode, you can isolate or process each part of the mix as needed. For example, you could record stems by muting all but one track and using Pre-Track mode, or use the insert mode to apply PC mastering to a live performance. The system was designed to prioritize stability and simplicity while still enabling advanced routing tricks for those who need them.
Headphone protection toggle: Now accessible in the System Settings (moved from the hidden boot menu), the Headphone Protect option can be turned on/off in firmware 6.0.0 Beta. This feature limits the maximum output level to prevent dangerously loud signals on the headphone output. While not a new concept, bringing it into the regular settings menu makes it easier for users to enable or disable it depending on their monitoring situation. (This was previously only toggleable by holding buttons at boot; now it’s a simple menu switch.)
Interface and workflow enhancements
QWERTY text entry layout: The on-device keyboard for naming songs, instruments, etc., is now arranged in a standard QWERTY layout rather than alphabetical. In earlier firmware, the character picker was alphabetical (A, B, C… in rows), which many found non-intuitive. The beta updates this to the familiar QWERTY order (with QWERTY on the top row). This change should speed up text entry for users used to a normal keyboard layout. It applies to all text input screens (song titles, instrument names, etc.).
Theme editing in HSV color mode: The Theme Settings screen has been revamped to allow easier color customization of the interface. You can now switch the color picker between RGB and HSV (Hue/Saturation/Value) modes. HSV mode is particularly useful for adjusting brightness or overall hue without altering the color family. For example, if your theme text is too bright, you can lower the Value slider while keeping the Hue constant, darkening it without shifting its color. In RGB mode this would be harder, as you’d have to proportionally scale three color channels. Additionally, a new global hue shift shortcut is provided: holding Edit and pressing arrow keys will rotate the entire theme’s hues. This lets you quickly “color cycle” the UI palette and find a new look, or adjust all elements’ tint at once. An on-screen icon indicates when this hue-shift mode is active. Together, these improvements make theme creation and adjustments much more accessible.
Dedicated system settings menu: Several configuration options have been relocated or exposed in a new System Settings page, accessible from the Project menu. Previously, settings like note preview and the startup splash screen were only found on the project screen or boot menu. Now, System Settings centralizes these:
Backlight brightness and font style (as before).
Note Preview toggle: Turn on/off the auditioning of notes when navigating the tracker (previously on the project screen).
Song Templates: The M8 has long supported a default song template, but now a UI is provided to save and manage it. You can store the current project as a template, which will be loaded whenever you start a “New Song.” This is useful for preloading your favorite instrument lineup or routing setup.
Startup Splash: Option to disable the boot logo and startup sound.
Headphone Protect: (As mentioned, moved here for convenience.)
Key Repeat Delay & Rate: You can adjust how long a button must be held before it starts repeating, and the speed of repeat when it does. These are in milliseconds, allowing personalization of the navigation feel. For instance, you can set a longer delay to avoid accidental repeats, or a faster rate to scroll through values quickly.
By pulling these out of hidden menus and scattering, the firmware makes device configuration more straightforward. Users can tweak global behavior without reboot combos or digging into the manual, which streamlines setting up the M8 to personal taste.
Track reordering on song screen: Arranging song structure is easier now with the ability to reorder tracks (columns) in Song Mode. You can swap the left-right position of entire tracks along with their patterns. This is done by selecting the top of a track and moving it: on the Song screen, go to row 0 (the track label row) and double-tap Up to enter track select, then hold Edit and press ←/→ to move the track horizontally. The M8 will instantly shuffle that track to a new position. All references to track numbers in phrases or effect commands are automatically remapped under the hood as you move tracks. That means things like any TR (target track) commands, mixer effect commands (e.g. VT for track volume), or modulation envelopes tied to a specific track will follow along correctly. This feature is especially useful for live set preparation, you can organize tracks by instrument type or song part (for example, ensure your kick and bass tracks are next to each other) after you’ve already composed patterns, without breaking the song. It essentially gives you the freedom to reorder your mix structure on the fly. The track reorder mode exits after you place the track. This addition makes the song assembly process more flexible and forgiving if you decide to reorganize your performance layout.
Count-in metronome: For recording and performance, a configurable metronome count-in has been added. In System Settings, you’ll find options to enable the metronome and set the count-in length (in phrases, e.g. 1 phrase = 16 ticks). When active, the M8 will play a metronome click before certain actions:
Song rendering/recording: If you render a song or otherwise start playback recording, the M8 will give the set number of bars of metronome clicks as a lead-in, then begin playback/record.
Live recording in sampler: When recording a sample with the song as backing (song mode playback during sampling), the count-in will sound before the recording starts.
The metronome uses a dedicated system instrument for its sound. On first boot of the new firmware, a special instrument (named “Metronome”) is saved into the unit’s memory. By default it’s a simple FM synth click, but you can customize it, any instrument type (including a user sample) can be used for the metronome tick. The metronome instrument even showcases the new Octave Map feature: it’s set up so that the downbeat click is a different pitch or sample (mapped to one octave) than the other beats (mapped to another octave). Users can edit this instrument if they want a different metronome sound (for example, a shaker sample or a spoken count). The metronome volume is adjustable in settings as well. Note that the metronome is only a pre-roll count-in; it does not continue ticking during actual playback. Once the song or recording starts, the metronome falls silent, so it won’t interfere with the music or consume a track voice while the composition is playing. This feature should be a welcome aid for musicians who need a moment to prepare before the music starts (such as when recording live takes or syncing external performers).
Improved external MIDI recording: Recording notes into phrases via external MIDI controllers has been improved in this beta. In particular, the MIDI recording behavior (Note Mode) has been refined from the v5 implementation. The M8 offers a “MIDI Record” channel setting (to designate which track incoming MIDI notes get recorded to, and using which instrument). In v6.0.0 Beta, this recording is more robust and accurate. The developer noted that phrase recording from MIDI is now “greatly improved” over the already enhanced version 5, though without going into technical detail. Users can expect better timing capture and handling of overlaps when jamming live on a MIDI keyboard or grid and having those notes commit to the M8 phrase data. This complements the Launchpad Note mode (below) and makes the M8 friendlier for hybrid use with external gear.
Launchpad controller integration
The Novation Launchpad (particularly the Launchpad Pro [Mk3]) integration sees substantial upgrades in this firmware. These changes turn the Launchpad into a powerful companion for performance and editing on the M8:
Stability and visual fixes: Minor bugs from the previous Launchpad support have been fixed. LED feedback is more reliable, for example, pattern lights now update correctly when a sequence hits a stop (HOP or END command). Overall, the grid reflects the M8 song state more accurately. The integration was also reworked internally to accommodate new features described below.
Mute and solo mode behavior: When using the Launchpad in mixer mode, Mute and Solo states now persist when switching between modes. Previously, toggling from Mute mode to Solo mode would clear active mutes. Now, you can set up a combination of muted tracks, switch to Solo to momentarily isolate one track (by holding a pad), and then release back to your previous mute configuration. This makes on-the-fly solo previewing more practical during live jams, since you won’t lose your mute arrangement.
Dedicated Note mode: The Launchpad now offers a Note mode turning it into a MIDI grid controller for playing the M8’s instruments. In this mode, the 8×8 pad grid acts like a melodic keyboard (similar to Ableton Push or the Launchpad’s standalone behavior). Notes are laid out according to the M8’s scale settings: if a global scale is set on the M8, the pads follow that scale; if the selected instrument has its own scale/key defined, the pads adapt to that. This allows for very intuitive jamming, letting you play chords or melodies on the Launchpad with scale quantization. Additional capabilities in Note mode:
Instrument switching: You can change the current instrument right from the Launchpad. By holding Shift and pressing the arrow keys on the Launchpad, you can increment/decrement the active instrument slot. The M8’s screen will pop up the instrument list while you do this, providing visual feedback of the selection.
Live recording: It’s possible to live-record sequences played on the Launchpad into an M8 phrase. Hold the M8’s Record and press Play (or an assigned pad) on the Launchpad to arm recording. The M8 will start recording incoming pad presses into the current track’s phrase in real time (similar to live recording with a MIDI keyboard). This is great for capturing a performance or riff directly from the grid interface. The recorded notes will respect the quantization to ticks as per M8’s standard recording behavior.
Enhanced Session (Sequencer) mode: The main Launchpad view that mirrors M8’s song/phrase arrangement (previously introduced in 5.x) is often called Session mode. In v6 Beta it’s more capable, effectively offering two sub-modes:
Live Launch mode (default): This is the standard behavior where pads trigger patterns (phrases) and song rows. You can launch chains of phrases on specific tracks, toggle mutes/solos, etc., to perform the song live.
Edit mode (Record mode): By pressing the Launchpad’s Record button, you enter an editing mode on the grid. The pad layout and functions change to facilitate building and editing patterns/phrases directly from the Launchpad. Several new features exist in this mode:
Visual indication of shared patterns: The grid now highlights any patterns or chains that are used multiple times (aliases) in the song. The pad representing the currently edited phrase will flash along with any other occurrences of that same phrase in the song. This strobing indicator warns you that if you edit this pattern, it will affect all flashing instances (since M8 is pattern-based). It’s a subtle but useful cue when editing on the fly, preventing accidental changes to a motif used elsewhere unintentionally.
Clone, Duplicate, and Clear: In edit mode, certain Launchpad function buttons map to cloning and clearing operations:
Holding the Duplicate button and tapping a pad will copy that phrase/chain to an internal buffer, and tapping another pad will paste it there (duplicate to a new location). This works for individual phrases or entire song row segments.
Double-tapping a pad while holding Duplicate performs a deep clone (creates a brand new unique pattern with the same content). This is equivalent to the M8’s “clone pattern” functionality, letting you edit a copy without altering the original pattern.
Holding the Clear button and tapping a pad will clear that pattern/phrase (erase its content). You can also clear whole song rows by pressing the side (scene) buttons while holding Clear or Duplicate, which will affect all tracks in that row.
Step Sequencer view: By double-tapping a pad corresponding to a phrase, the Launchpad dives into a detailed step sequencer view for that phrase. (This is the same as pressing the physical Sequencer button on the Launchpad Pro Mk3, if available.) In this view, the 8×8 pads are divided into functional zones:
The upper left 4×4 section represents the song chains (phrase slots) for the current song part.
The upper right 4×4 section shows the pattern currently being edited (16 steps, in a 4x4 grid).
The bottom half (4×8) of the grid becomes a piano roll keyboard for note entry. The lowest row corresponds to a range of notes, and higher rows to higher pitches, laid out similar to a chromatic keyboard or according to the scale.
In this sequencer mode, you can step-program the phrase much like using a classic drum machine or Ableton Push sequence:
Tapping pads in the pattern section toggles notes on/off at those step positions. Multiple notes per step (chords) aren’t directly lit since the M8 tracker paradigm is one note per step per track, but you can layer via NXT if needed.
When you hold a step pad that has a note, the bottom keyboard lights indicate that note and allow you to transpose or change it. You can hold a step and press a different pad in the keyboard area to set a new note for that step. This provides a quick way to edit melodic lines.
Holding a step also enables adjusting its velocity: an adjacent column of pads (likely the far right column) shows the velocity level, which you can tweak up or down while the step is held. The demo showed a pad lighting up to represent velocity and being turned down while a trigger was held, changing the volume of that note.
The two pads that lit up red in the demonstration serve as octave shift controls for the keyboard section. Pressing these will shift the note layout up or down by an octave, allowing access to the full melodic range.
You can change the instrument assignment for notes in the phrase from the Launchpad as well. Holding Shift and using arrow keys in this view brings up the instrument selection (similar to how it works in Note mode). This means you could place a note of a different instrument on a step by selecting a new instrument and toggling the pad.
Phrase transpose: The Launchpad edit mode also exposes phrase transpose (the same as chain transpose on the M8). By holding a chain’s pad and pressing certain arrow or transpose buttons, you can shift the pitch of the entire phrase up or down semitones. The pads will display the transpose amount.
Quick instrument load: Another handy shortcut, pressing the Projects button on the Launchpad while in sequencer view opens the M8’s instrument load menu. This allows you to add a new instrument to the project without touching the M8 itself, useful if you decide you need a new sound mid-performance or editing. For example, you could load a new sample or synth patch entirely from the grid controller and then immediately use it.
Essentially, the Launchpad in edit mode turns into a dynamic sequencer interface, letting you build and modify patterns on the fly with both broad strokes (duplicate, clear, move phrases) and fine detail (edit individual notes and velocities). This blurs the line between performing and editing, one could improvise arrangement changes live, clone patterns to extend a jam, or punch in variations, all from the grid.
Launchpad Pro compatibility: The features above were designed around the Launchpad Pro Mk3, which has a 8x8 grid and additional side mode buttons that map well to these functions. It was noted that simpler Launchpads (like the Launchpad Mini) lack some buttons and MIDI capabilities, making full implementation of these features difficult on those devices. Also, the Launchpad Pro can connect directly to the M8 via USB because it supports Standalone MIDI mode (no computer host needed). These improvements make the most sense with the Pro. So while the firmware doesn’t explicitly lock out other controllers, the Launchpad Pro is the intended controller for the deep integration.
All told, firmware v6.0.0 Beta represents a significant update to the M8 Tracker, packing in many user-requested features and quality-of-life improvements. From subtle sound engine tweaks (eliminating clicks, adding analog-like drift) to major workflow boosts (track reordering, count-in metronome, Launchpad sequencing), the M8 is now more powerful and flexible for experienced users. Beta testers are encouraged to explore these features and provide feedback. As always, being a beta, some quirks might still be ironed out (for instance, a minor display bug was noted when switching Live mode from the Launchpad, slated to be fixed in Beta 2). Overall, this update extends the M8’s capabilities while maintaining its fast, tracker-based workflow – ensuring it continues to evolve as a formidable portable music composition device for electronic musicians.